How to Connect Two External Monitors to a MacBook
Which MacBooks support two external displays, how to connect and arrange them in System Settings, the lid-closed trick for M3 MacBook Air, and how DisplayLink docks add screens to M1 and M2 Macs.
We may earn a commission when you buy through links on this page. Learn more
Quick answer
First check your Mac: MacBook Air and Pro with M4 or M5 support two external displays with the lid open. MacBook Air and the base MacBook Pro with M3 support two only with the lid closed. M1 and M2 MacBook Air and base 13-inch MacBook Pro support one, unless you use a DisplayLink dock. Connect the highest-resolution display first, then arrange them in System Settings, Displays.
Two monitors make a huge difference when you work from a MacBook: one for your main app, one for email, chat or reference, and the laptop screen for everything else. The setup is simple once you know one thing that trips up almost everyone: not every MacBook supports two external displays.
Apple's chips have different display limits, and some models need the lid closed to use a second screen. Older base models only support one, unless you add special software.
Every limit below comes from Apple's own support pages, which I've linked so you can check your exact model. For monitor picks, see our best monitors for MacBook guide, and for adapters and docks, our best USB-C hubs for MacBook.
Step 1: Check how many displays your MacBook supports
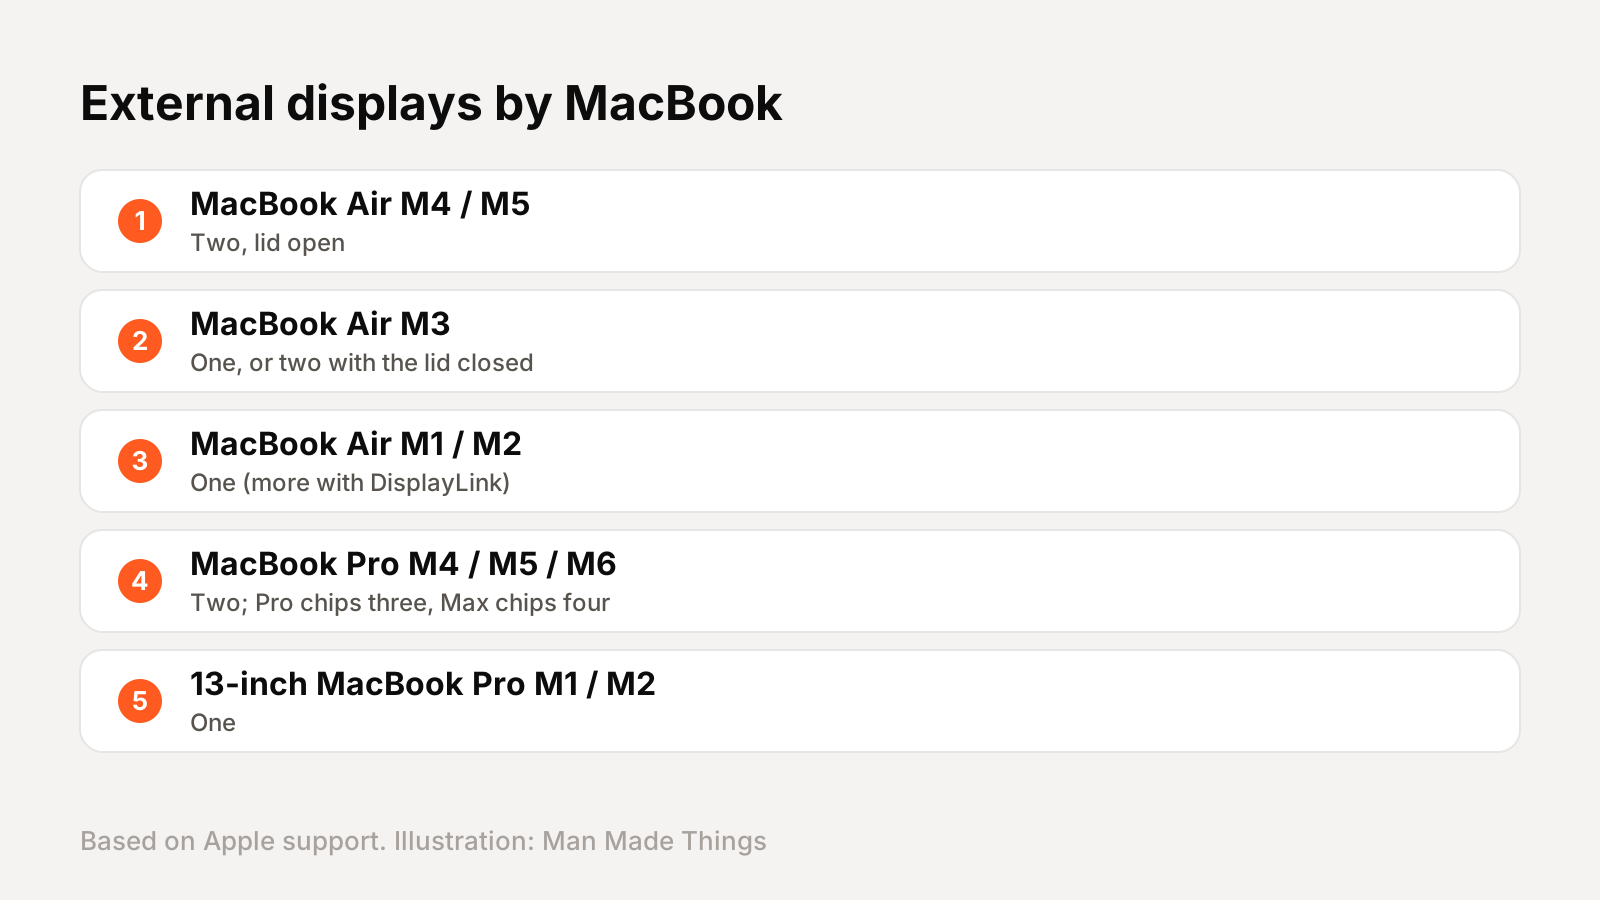
This is the step that matters most. According to Apple's support pages:
- MacBook Air with M4 or M5: up to two external displays alongside the built-in screen, over the Thunderbolt ports.
- MacBook Air with M3: one external display, or two with the lid closed.
- MacBook Air with M1 or M2: one external display.
- MacBook Pro with M4, M5 or M6: up to two. Pro chips support more: M5 Pro up to three, and Max chips up to four.
- 13-inch MacBook Pro with M1 or M2: one.
Apple also notes that a hub or daisy-chaining can put two displays on one Thunderbolt port, but it doesn't raise the maximum number of displays your Mac supports.
To check your exact Mac, Apple says to go to the Apple menu, then System Settings, and choose Help, then your Mac's Specifications, Display Support.
Step 2: Connect your monitors
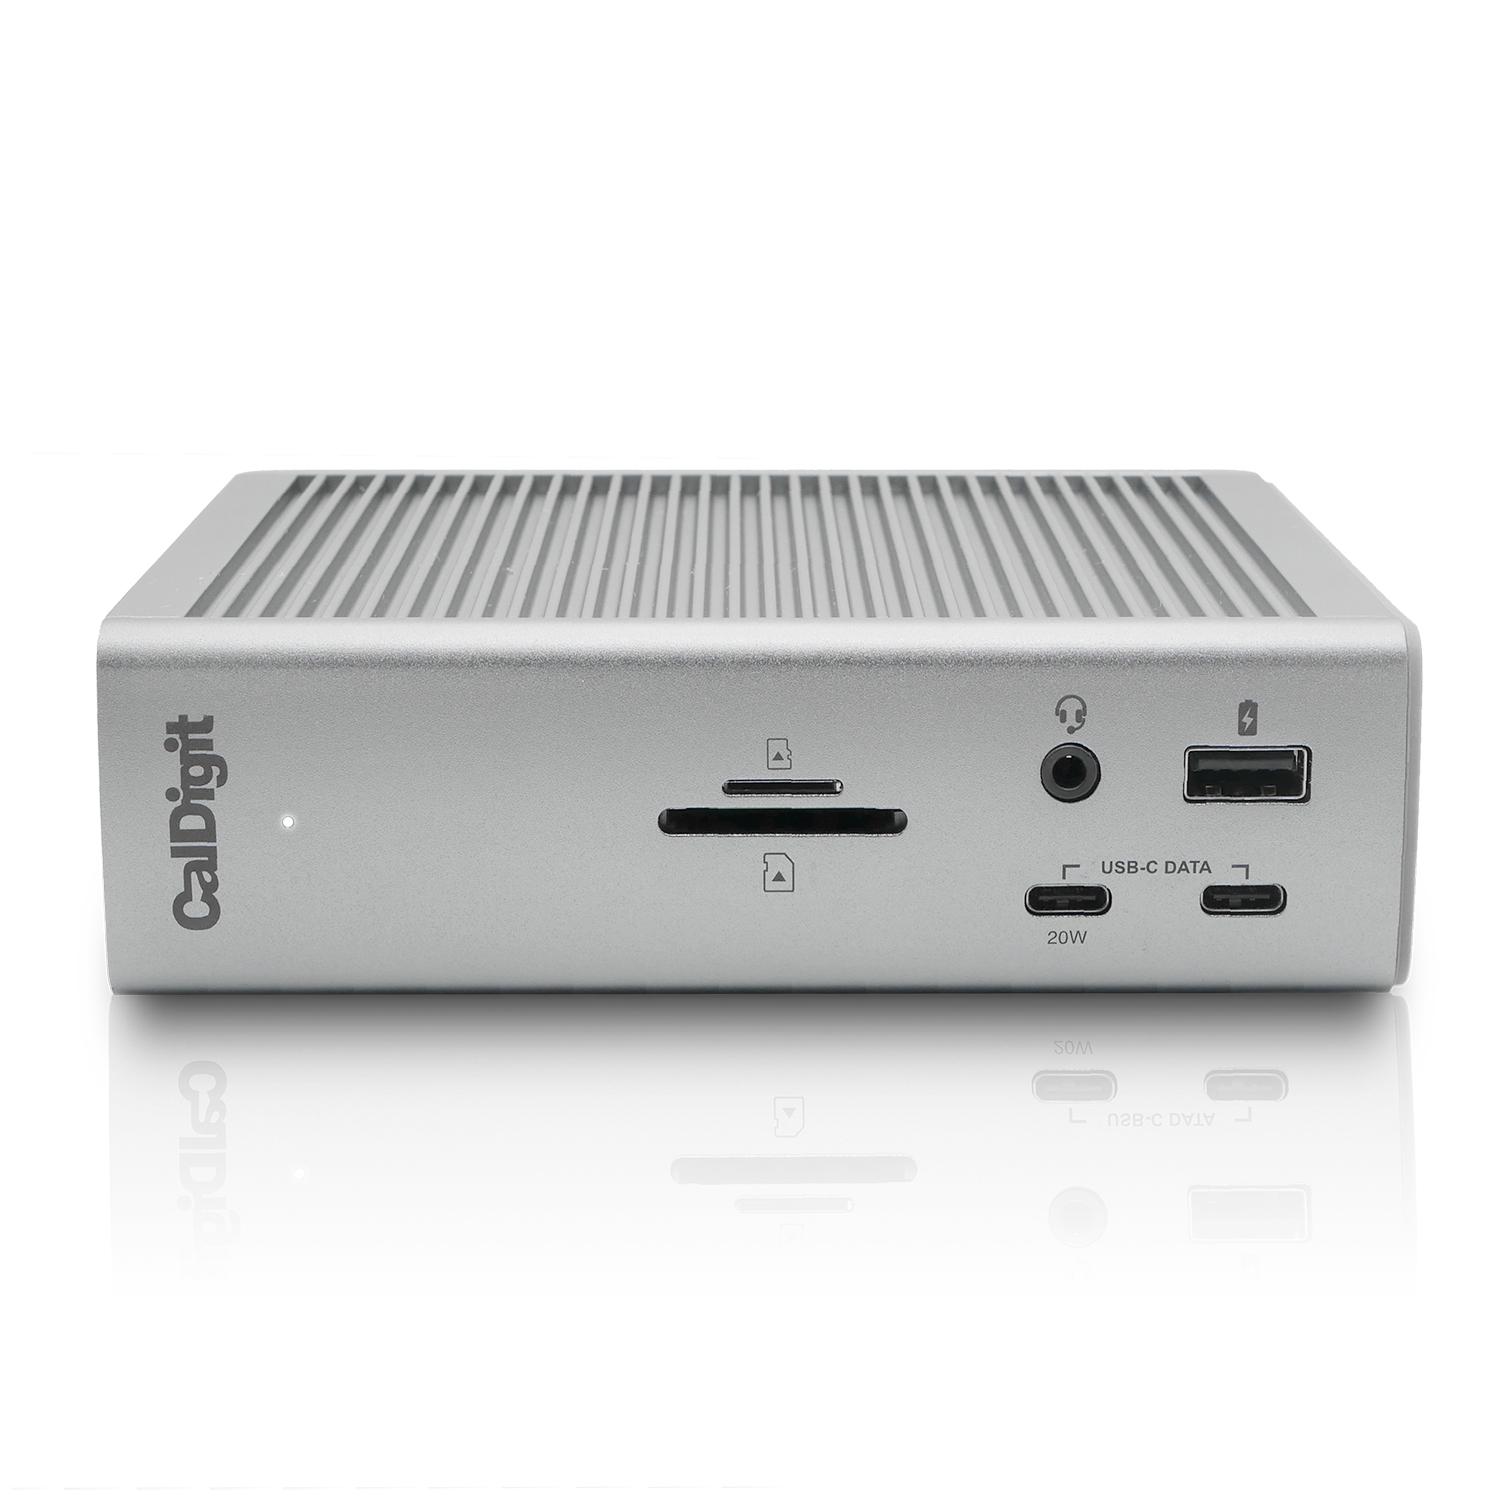
Apple's steps are simple. Connect each monitor to power, then use its video cable to connect it to your Mac, such as to a Thunderbolt or HDMI port. Use an adapter if the cable doesn't fit. The Mac detects displays automatically.
A few tips from Apple:
- Connect the highest-resolution display first when using more than one.
- Know your ports. MacBook Air connects displays through its Thunderbolt ports and has no HDMI. MacBook Pro supports any combination of Thunderbolt and HDMI.
- Allow the accessory. Apple silicon laptops may ask you to allow a newly connected display. If you don't, it stays dark.
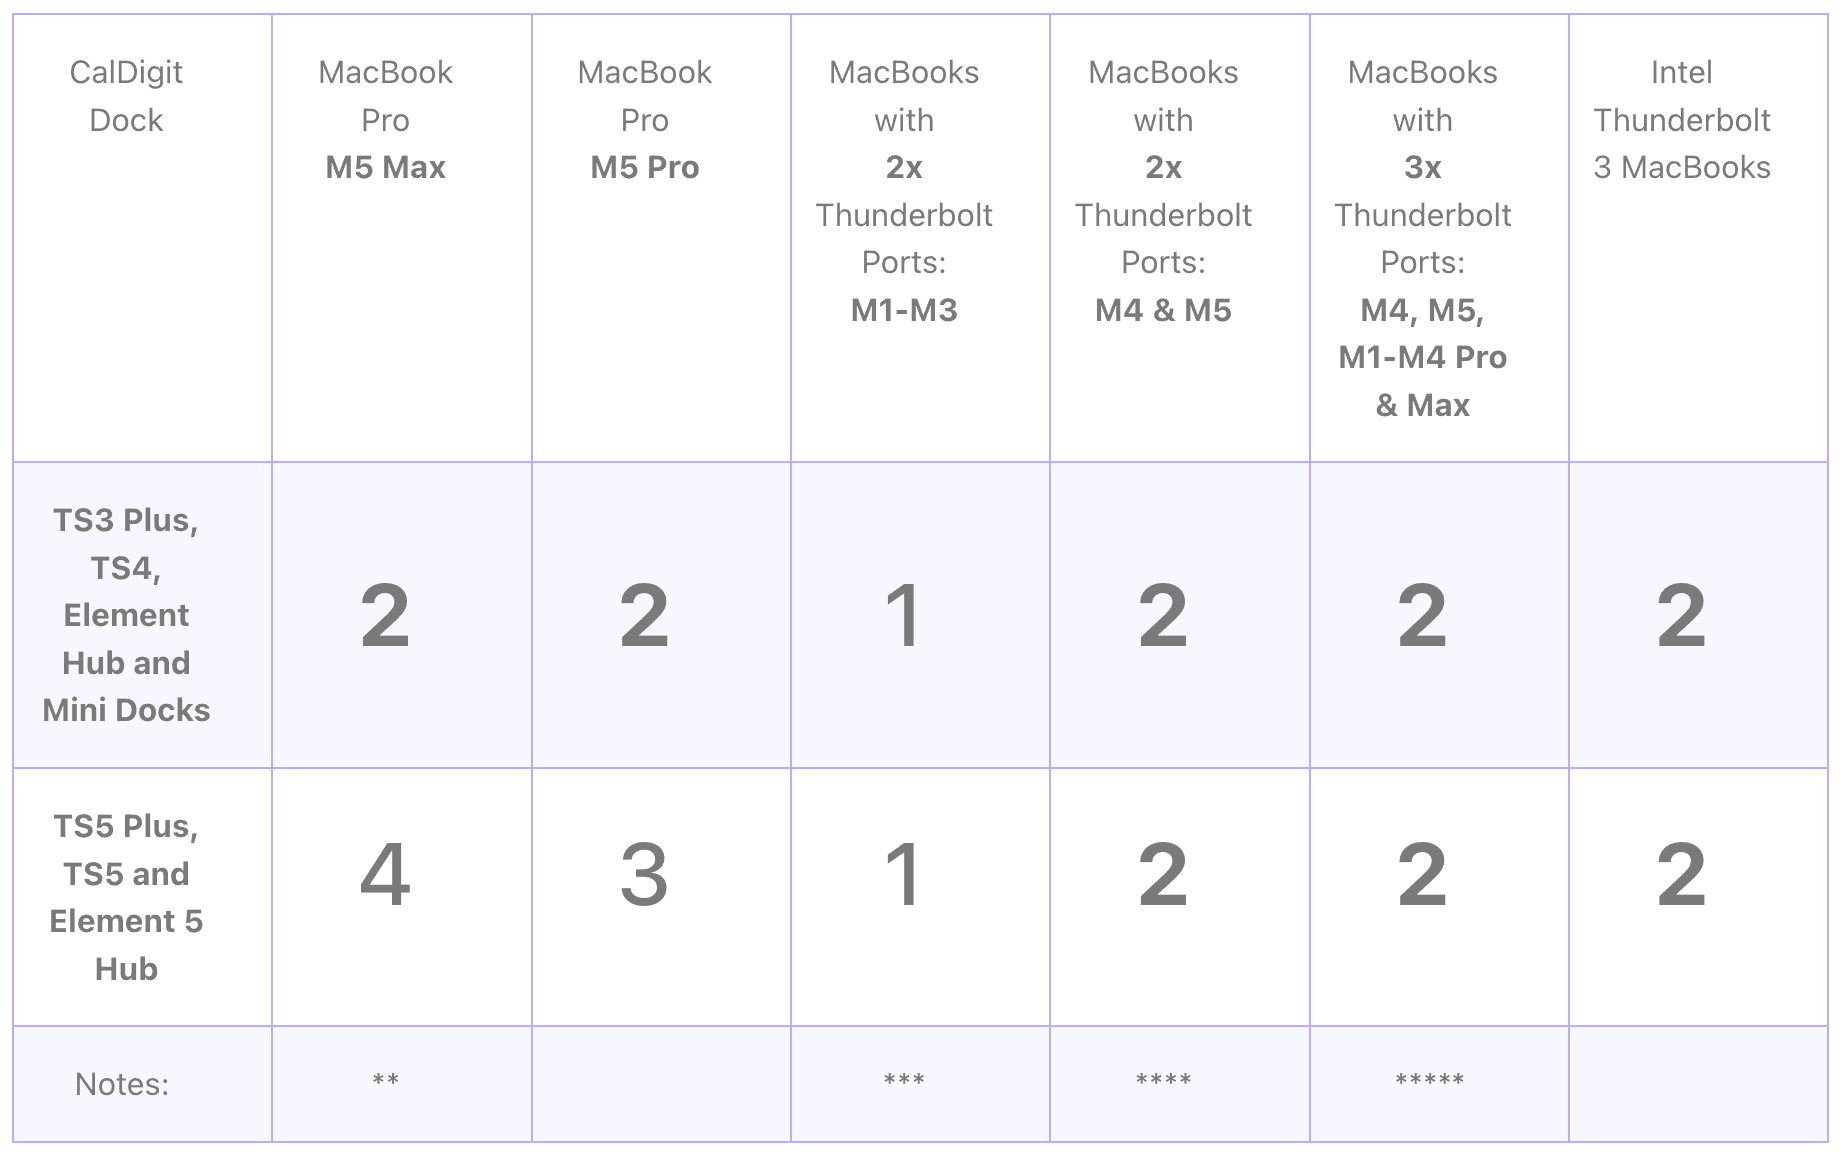
A Thunderbolt dock can make life easier, giving you one cable to your Mac for both monitors, power and accessories. CalDigit says M4 and M5 MacBook Air can run dual extended monitors through its docks. If something doesn't work through a dock, Apple suggests connecting the display directly to your Mac.
Step 3: Arrange your displays
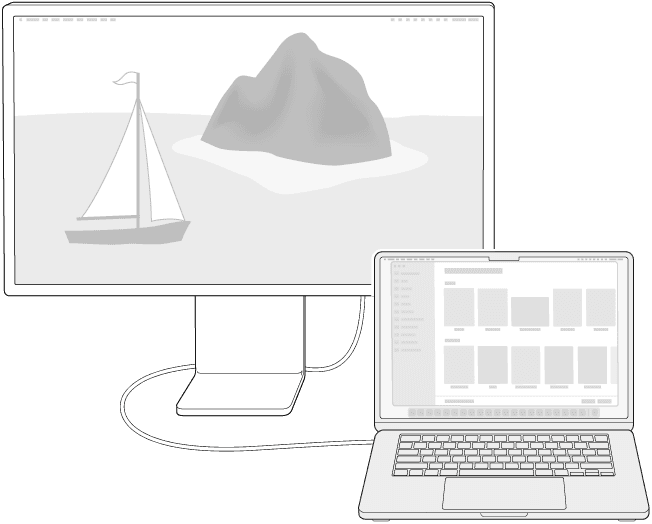
Once connected, go to Apple menu, System Settings, Displays. Apple says this is where you arrange the position of displays, mirror their content and choose your main display.
- Arrange: drag the display icons so they match where your monitors physically sit. That way your mouse moves naturally from one screen to the next.
- Extend or mirror: click a display's name, then the "Use as" menu. Choose to extend your desktop, mirror another screen, or make it your main display.
- Main display: this is where the menu bar and new windows appear. Most people pick the monitor directly in front of them.
- Mixed setups: Apple says you can extend all displays first, then hold Option and drag one display icon onto another to mirror just those two.
If a display doesn't appear, Apple says to hold the Option key in Displays settings to reveal a Detect Displays button.
The lid-closed trick for M3 MacBook Air
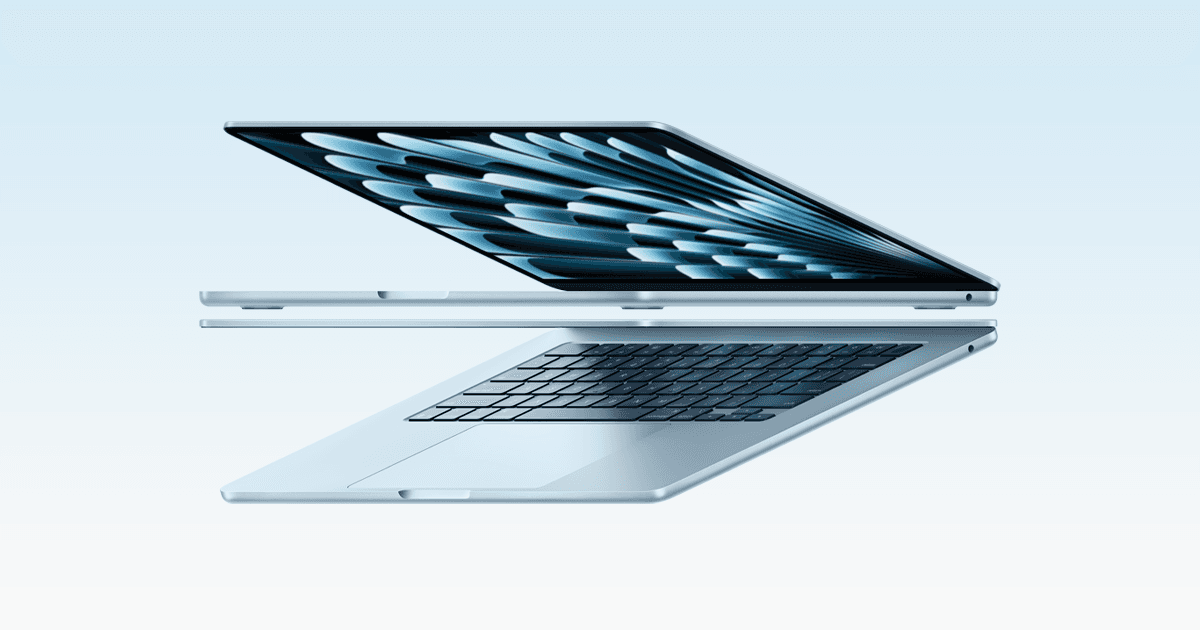
If you have an M3 MacBook Air, or the M3 MacBook Pro, you can run two monitors, but only with the lid closed. Apple's dedicated support page explains how.
You'll need: an external keyboard and a mouse or trackpad, macOS Sonoma 14.3 or later on MacBook Air (14.6 on MacBook Pro), and power, either from a monitor that charges over USB-C or the power adapter.
Apple's steps:
- Connect your keyboard and mouse or trackpad.
- Connect power.
- Connect your first display. It becomes the main display.
- Close the lid.
- Connect your second display.
Apple warns that if you open the lid with both displays connected, the second display will go dark or disconnect. To reset the order, disconnect and reconnect both displays. On M4 and M5 models, Apple says closing the lid doesn't add another display, because they already support two with it open.
More screens on M1 and M2 with DisplayLink
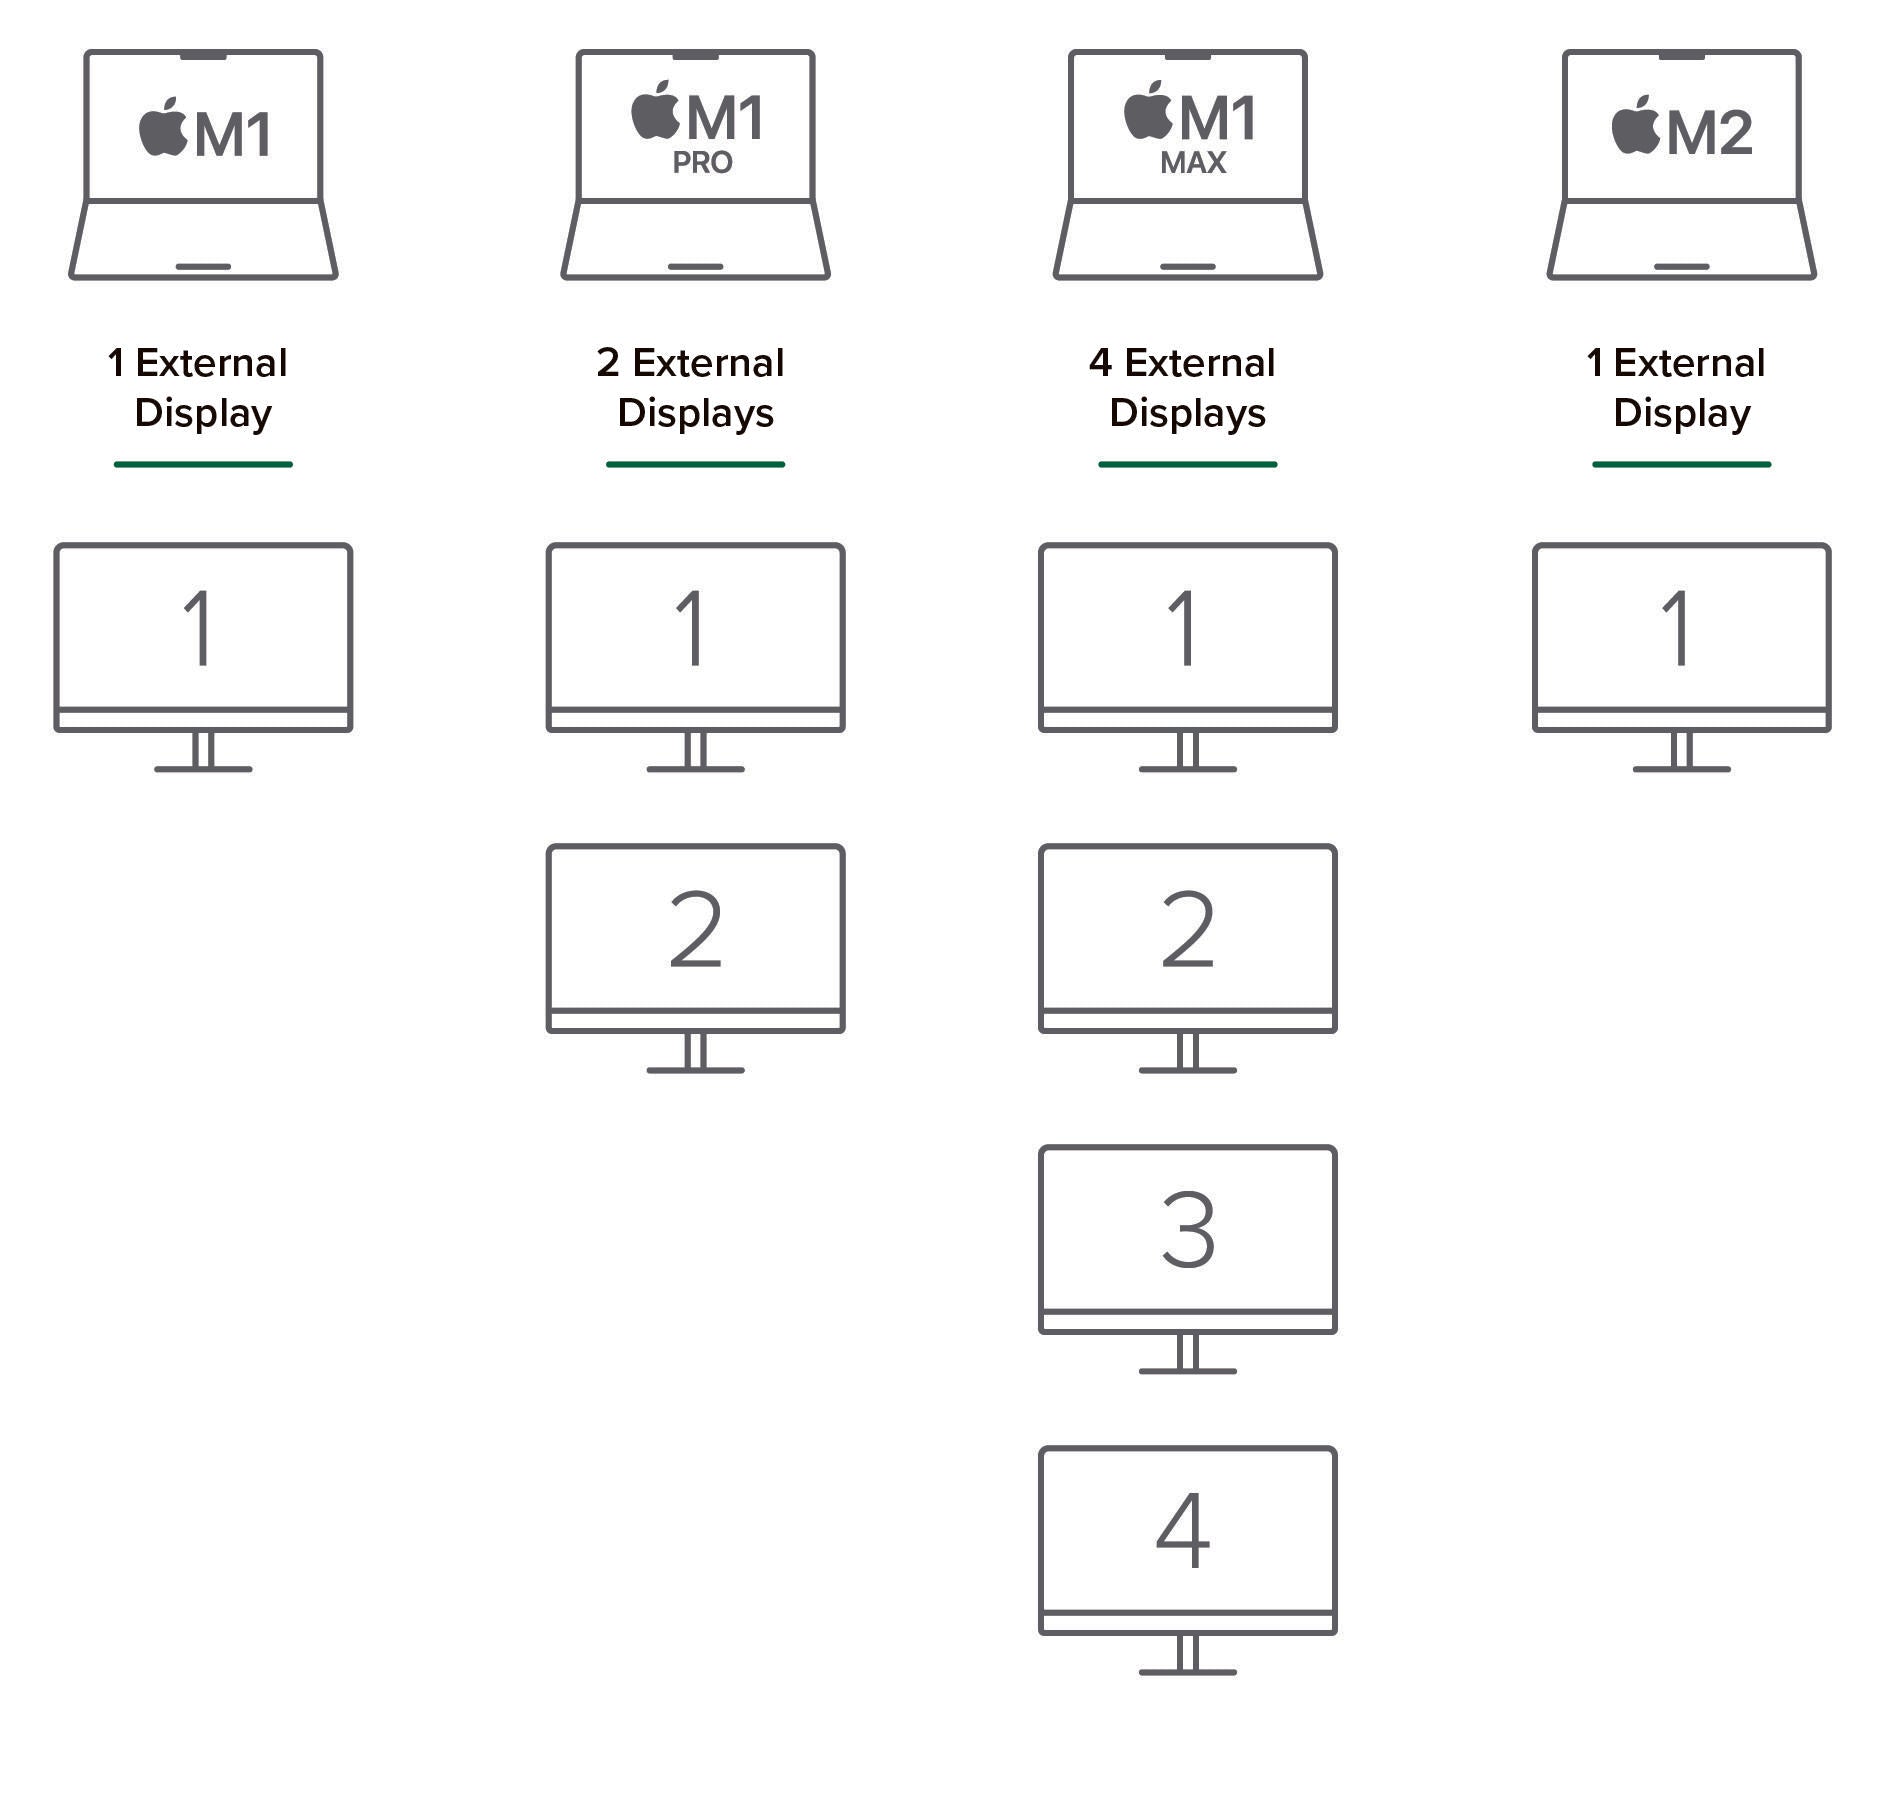
If your MacBook supports only one external display, there's still a workaround: DisplayLink. It's a technology used in some docks that sends video over USB using software rather than the Mac's own display hardware.
Plugable, which makes DisplayLink docks, says that to run two monitors on an M1 MacBook Air, you need a DisplayLink-certified dock or adapter and the DisplayLink Manager app, which needs the macOS Screen Recording permission. DisplayLink's support site says the app doesn't record or store screen content.
There are trade-offs. Plugable says it uses a small amount of CPU and graphics power and isn't recommended for high-end gaming or professional color grading. DisplayLink also says that when a DisplayLink screen is connected, some protected video, from Netflix, Disney+ or Amazon Prime, may not play on any screen.
For spreadsheets, email and browsing, it works well, and it's the only way to add a second screen to an M1 or M2 MacBook Air.
Frequently asked questions
Can a MacBook Air run two external monitors?
+
MacBook Air with M4 or M5 supports two. M3 supports two only with the lid closed. M1 and M2 support one, unless you use a DisplayLink dock.
How do I set my main display on a Mac?
+
Open System Settings, Displays, click the display's name, then use the 'Use as' menu to choose Main display.
Do I need a dock for two monitors?
+
Not necessarily. You can connect monitors directly to the Thunderbolt or HDMI ports, but a dock lets one cable handle monitors, power and accessories.
What is DisplayLink?
+
Software-driven video over USB used in some docks. Plugable says it lets M1 and M2 Macs run extra monitors with the DisplayLink Manager app.
Sources
- Apple: External displays with MacBook Air
- Apple: External displays with MacBook Pro
- Apple: Use dual monitors with M3 MacBook Air and MacBook Pro
- Apple: Connect displays to your Mac
- Apple: If your external display isn't working
- Apple: Extend or mirror your desktop
- Apple: MacBook Air tech specs
- CalDigit: MacBook multiple monitor support
- Plugable: Connect more displays to M1 Macs
- DisplayLink: Protected content on macOS
Editor-in-Chief
Rahul has been writing about gadgets and software since 2013, first at Thetechhacker and now at Man Made Things. He edits every review on the site and signs off on every verdict.
More from Rahul →