How to Sharpen a Kitchen Knife With a Whetstone
A step-by-step guide to sharpening a kitchen knife on a whetstone, using the methods Shun, Zwilling, Wüsthof and Korin recommend: soaking, angle, finding the burr, grit and stone care.
We may earn a commission when you buy through links on this page. Learn more
Quick answer
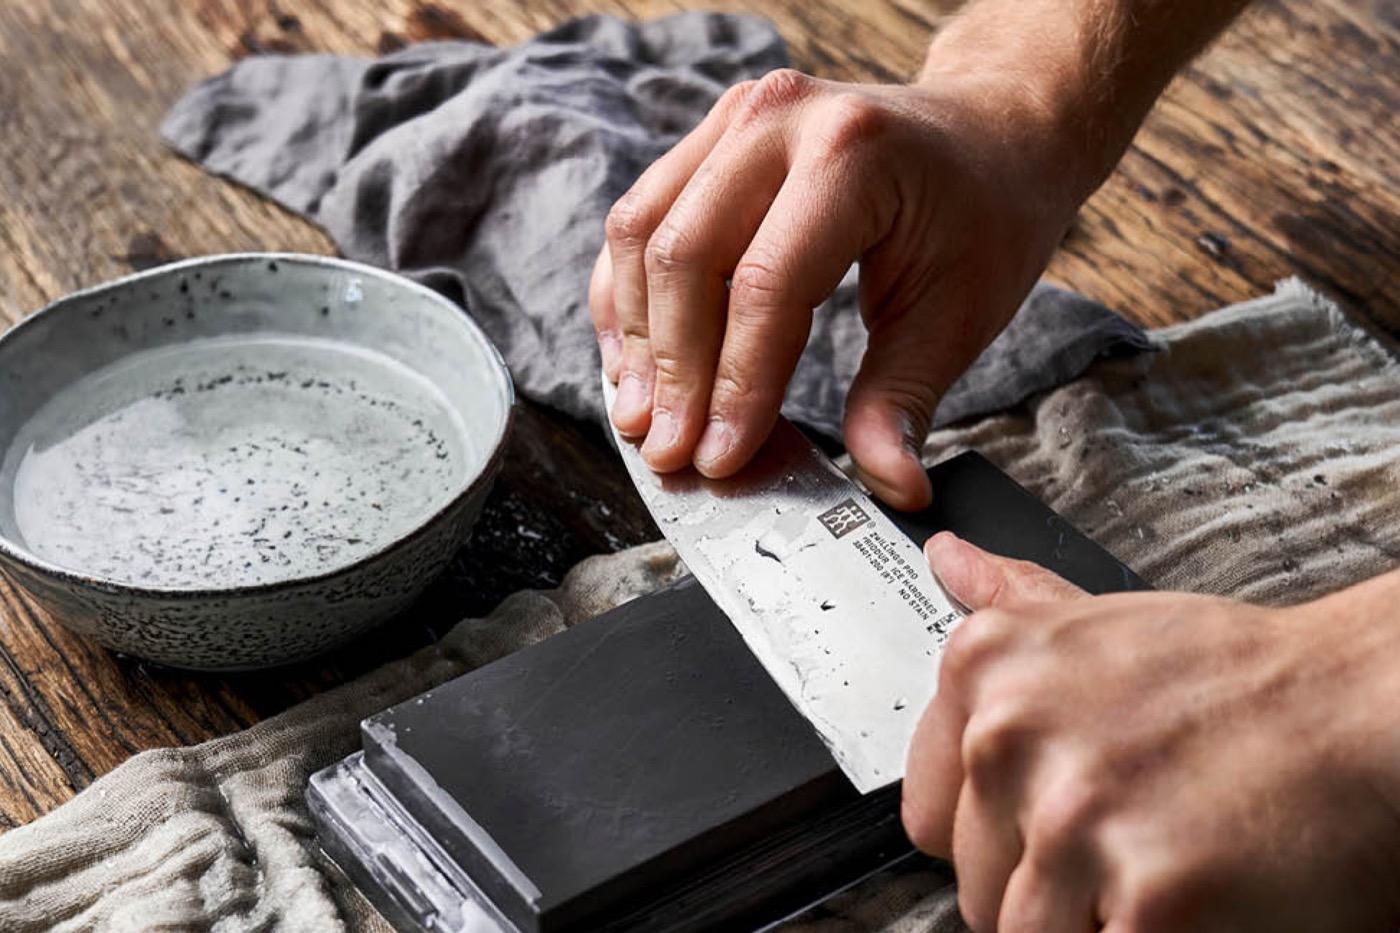
Soak the whetstone for 5 to 15 minutes (unless it's a splash-and-go stone), set it on a damp cloth, and hold the knife at about 15 degrees (16 for Shun, 14 for Wüsthof). Push the blade across the coarse side, working from tip to heel, until you feel a small burr along the edge, then repeat on the other side. Finish on the fine side, rinse and dry the knife.
A sharp knife is a safe knife. It goes where you aim it instead of sliding off a tomato skin, and it makes cooking far more enjoyable. Yet most home knives are dull, because sharpening feels intimidating.
It doesn't need to be. A whetstone is just a flat block of abrasive stone, and the technique comes down to three things: hold a steady angle, sharpen until you feel a burr, and finish on a finer grit. Your first attempt might take 20 minutes. After a few tries, it's ten.
The steps below follow the guidance knife makers Shun, Zwilling and Wüsthof and Japanese knife specialist Korin publish on their own sites. Where their numbers differ, I say so. If you need a knife worth sharpening, see our best chef's knives under $150 guide.
Sharpening vs honing
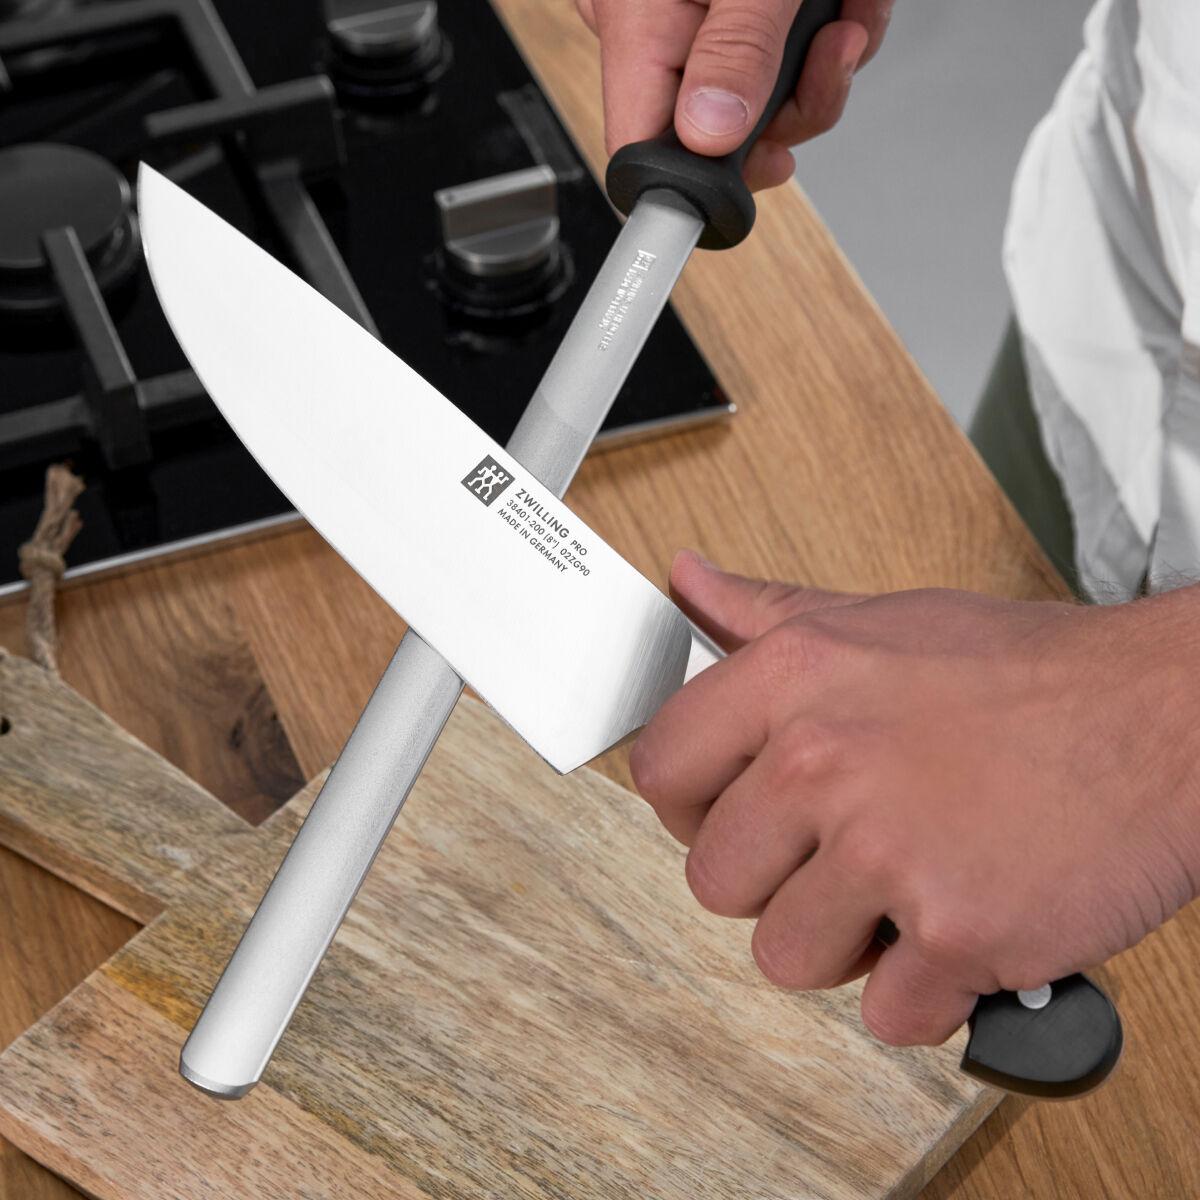
These two get confused all the time. Shun explains it clearly: honing realigns an edge that has started to roll, while sharpening restores true sharpness by removing a small amount of metal. Honing doesn't create a new edge and doesn't remove metal.
So think of it this way:
- Hone often, with a honing steel. Shun says some cooks hone daily, others weekly.
- Sharpen occasionally, on a whetstone. Shun says for many home cooks, about once a year is enough. Misen suggests every 6 to 12 months for moderate use.
One caution from Korin, which specializes in Japanese knives: it says not to use a sharpening steel on a Japanese knife. A quick test for when to sharpen: if your knife slides on a tomato skin even after honing, it's time.
Step 1: Soak and set up the stone
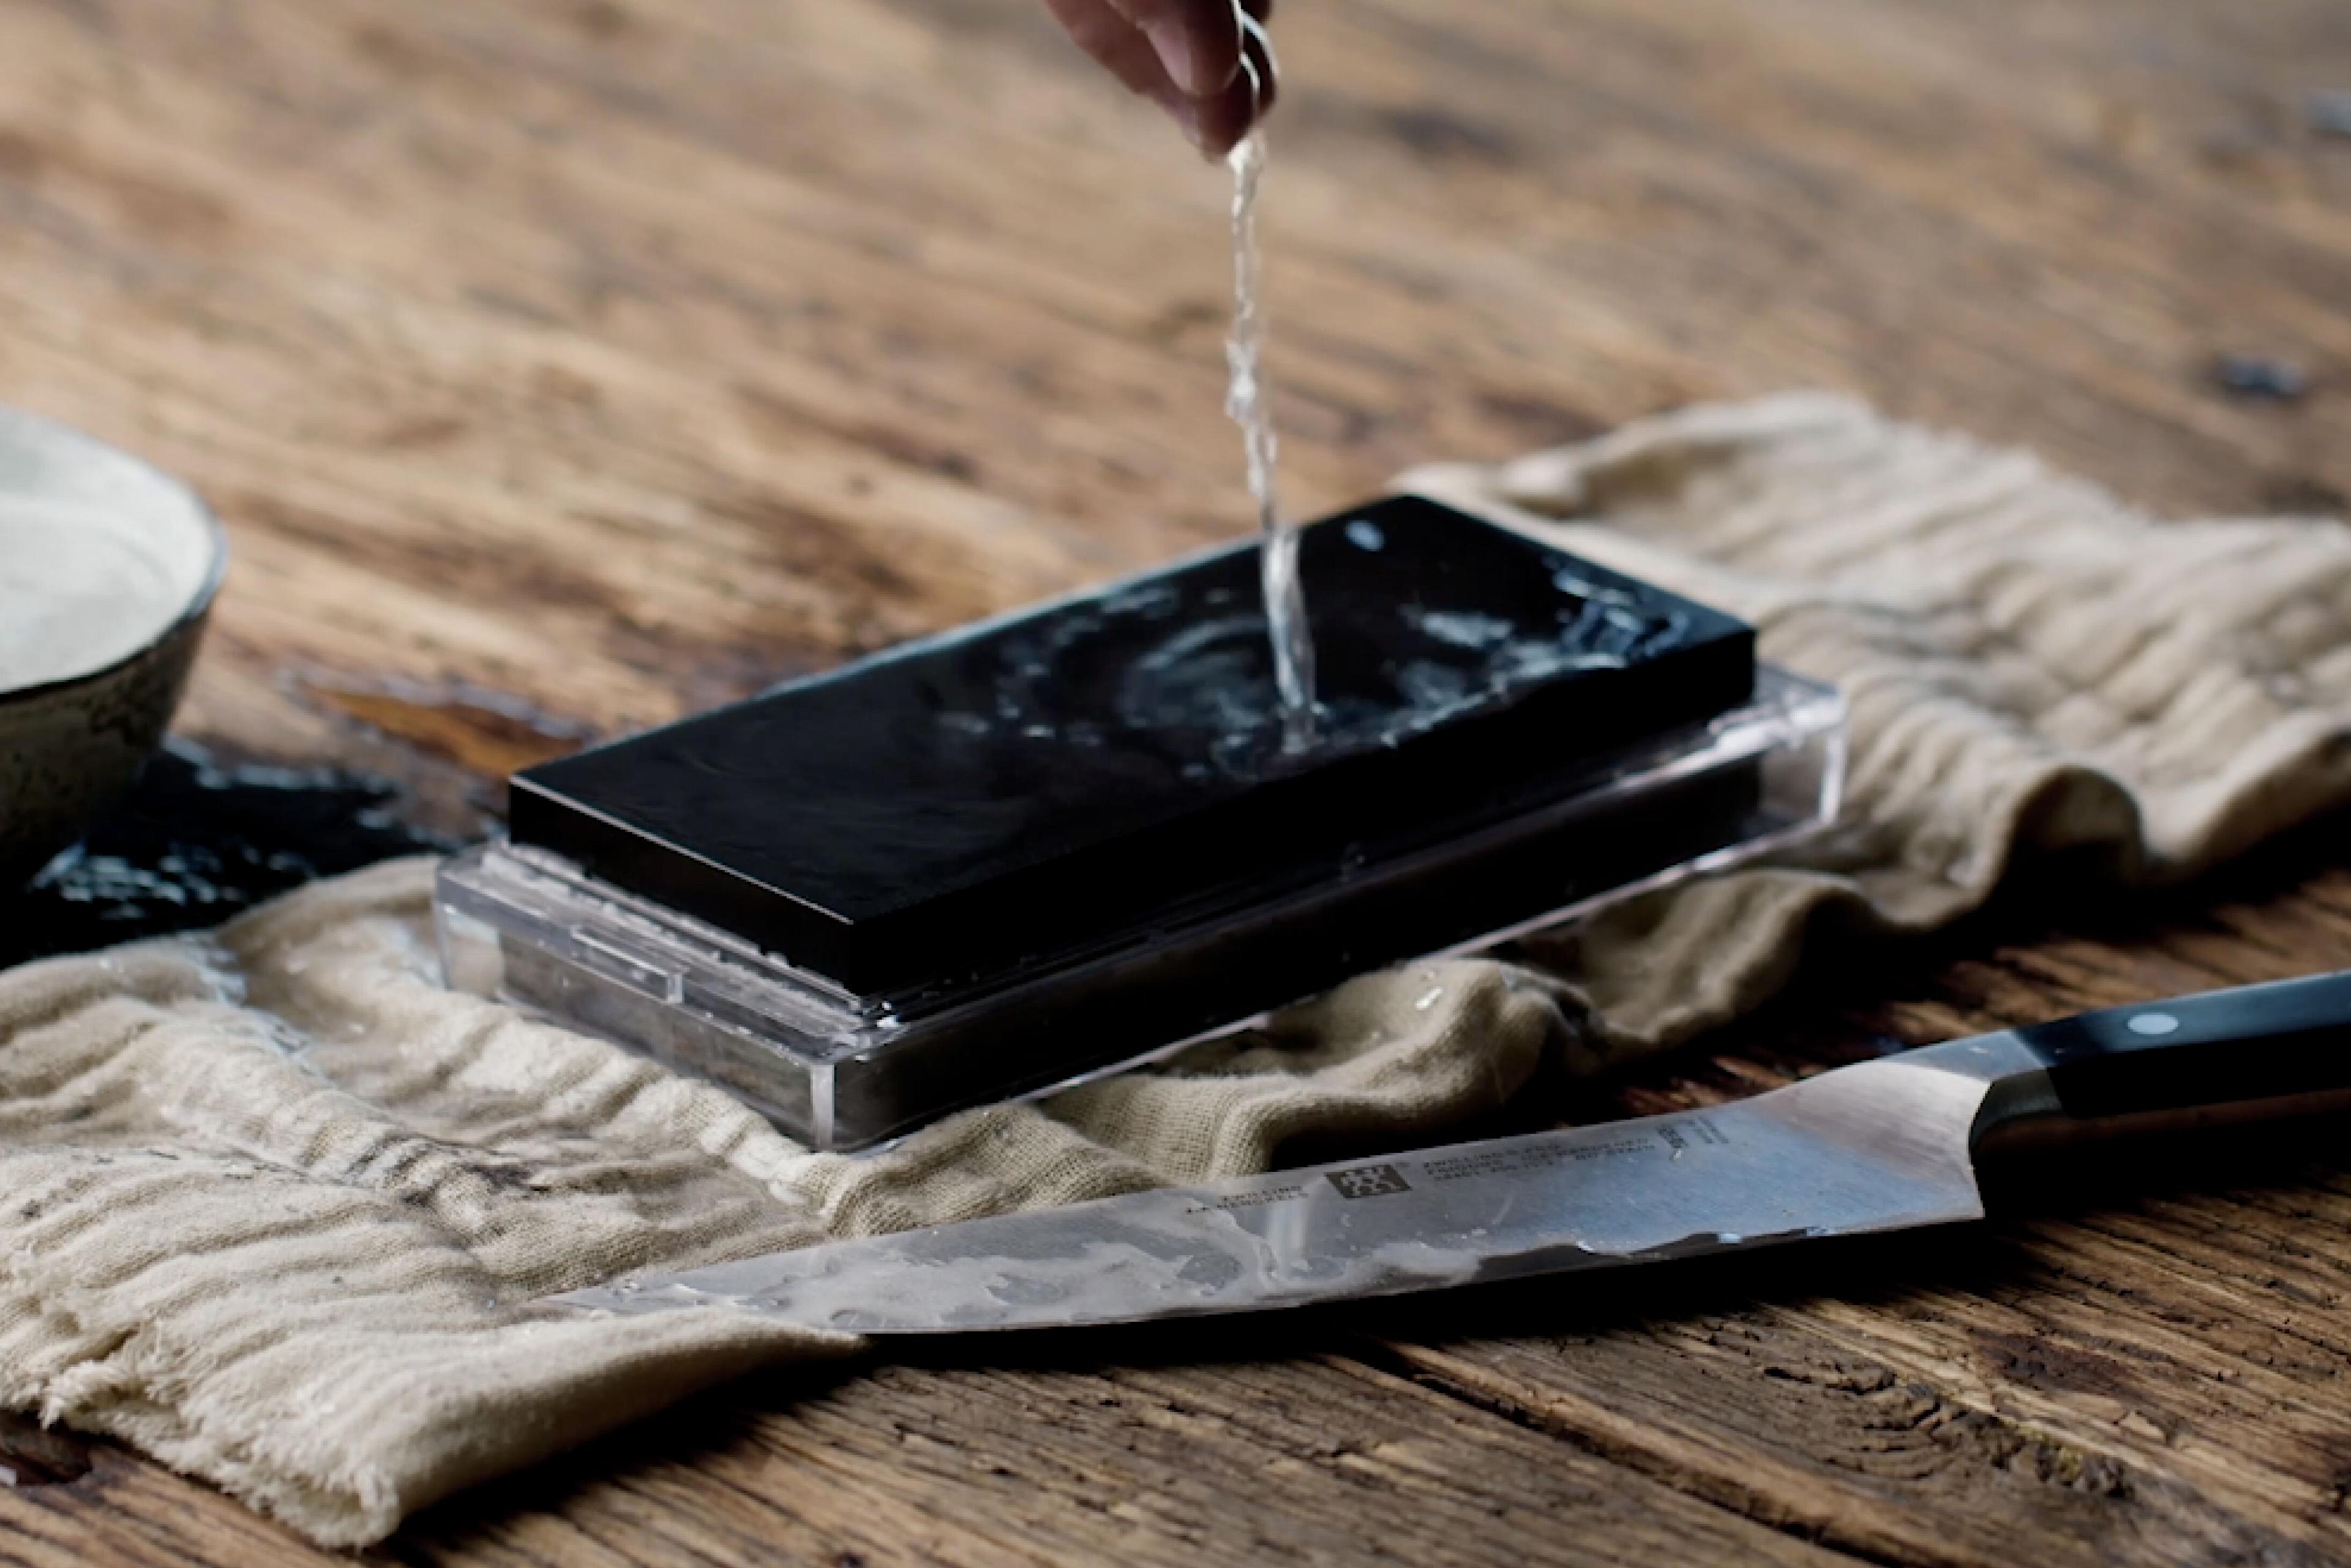
Most whetstones are water stones, and they need water to work. How much depends on the stone:
- Soaking stones: Korin says to soak coarse and medium stones for 10 to 15 minutes. Wüsthof says about ten minutes, Zwilling about five, and Misen says until the stone stops releasing bubbles.
- Fine stones: Korin says to just splash water on them as you go, because soaking fine stones too long can crack them.
- Splash-and-go stones: some stones, like Zwilling's Pro 250/1000 stone, need only a few drops of water and no soaking.
Keep the surface wet the whole time. Zwilling notes that a gray slurry forms as you sharpen, which is normal and actually helps. Then set the stone on a damp cloth or a non-slip base so it can't slide, coarse side up, as Wüsthof suggests.
Step 2: Hold the right angle
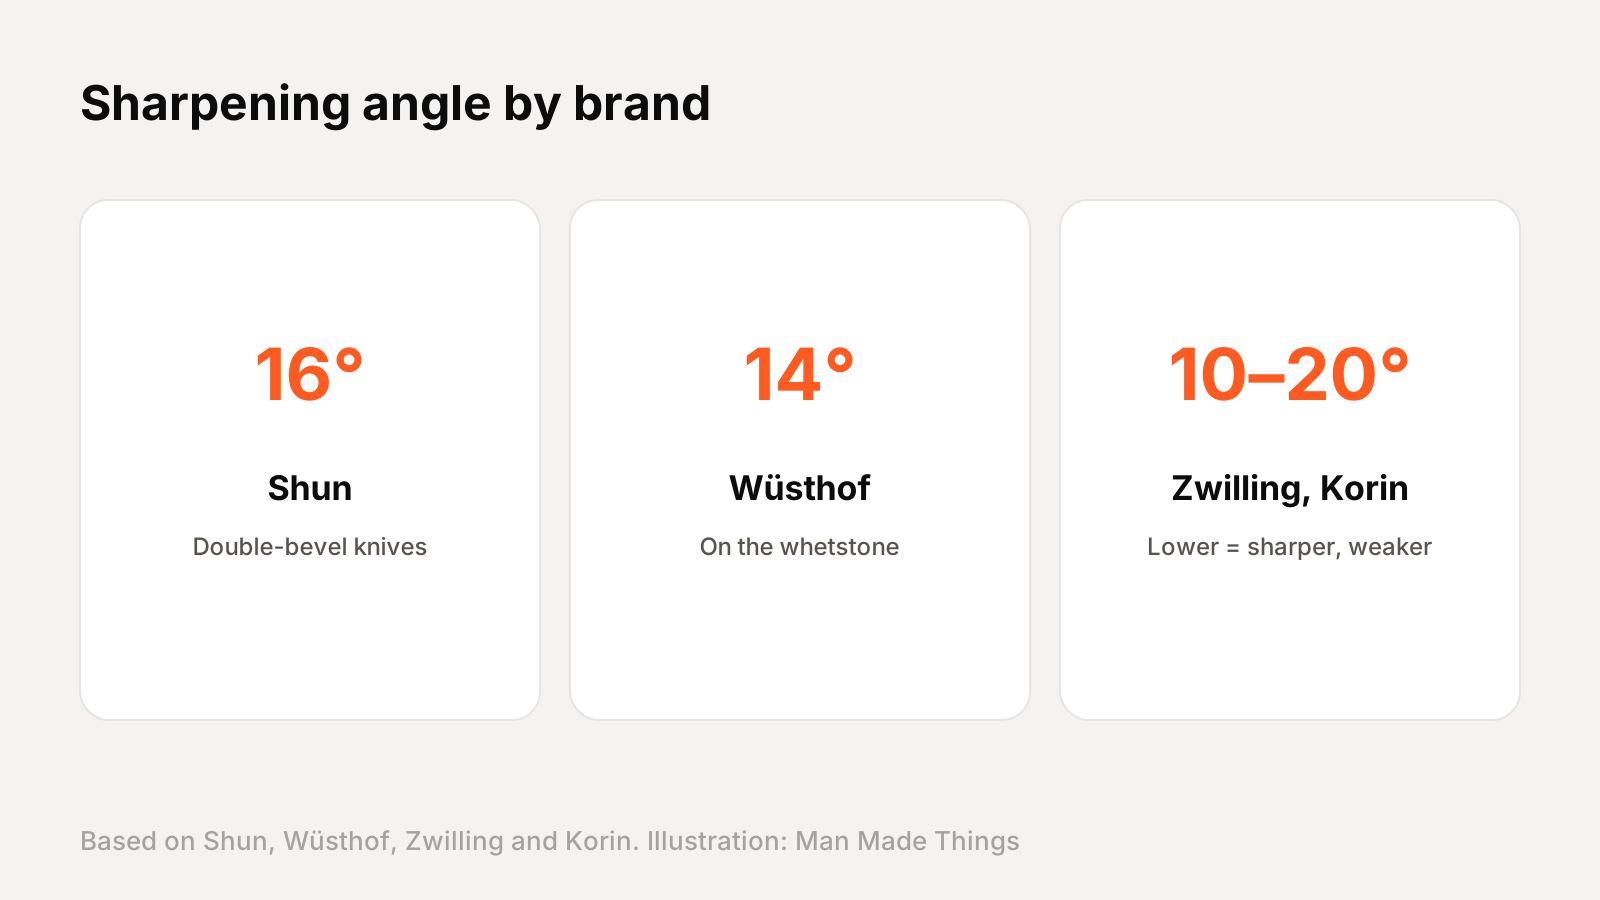
The angle is the most important part, and the brands give slightly different numbers:
- Shun: 16 degrees for its double-bevel knives (22 degrees for its Classic Western cook's knife).
- Wüsthof: 14 degrees on the whetstone.
- Zwilling: 10 to 20 degrees, with a gap of less than a quarter inch between the spine and the stone.
- Korin: 10 to 20 degrees, noting that a smaller angle gives a sharper but weaker edge.
If you know your knife's brand, use its recommended angle. If not, about 15 degrees is a sensible middle ground. Korin has a handy trick: two stacked pennies under the spine give you roughly 12 degrees.
What matters most is holding the angle steady. A consistent 15 degrees beats a wobbly 12. If you're nervous, practice on an inexpensive knife first. Some people also color the edge bevel with a marker before sharpening. When the ink wears off evenly, you know you're holding the angle the knife was ground at.
Step 3: Sharpen until you feel a burr
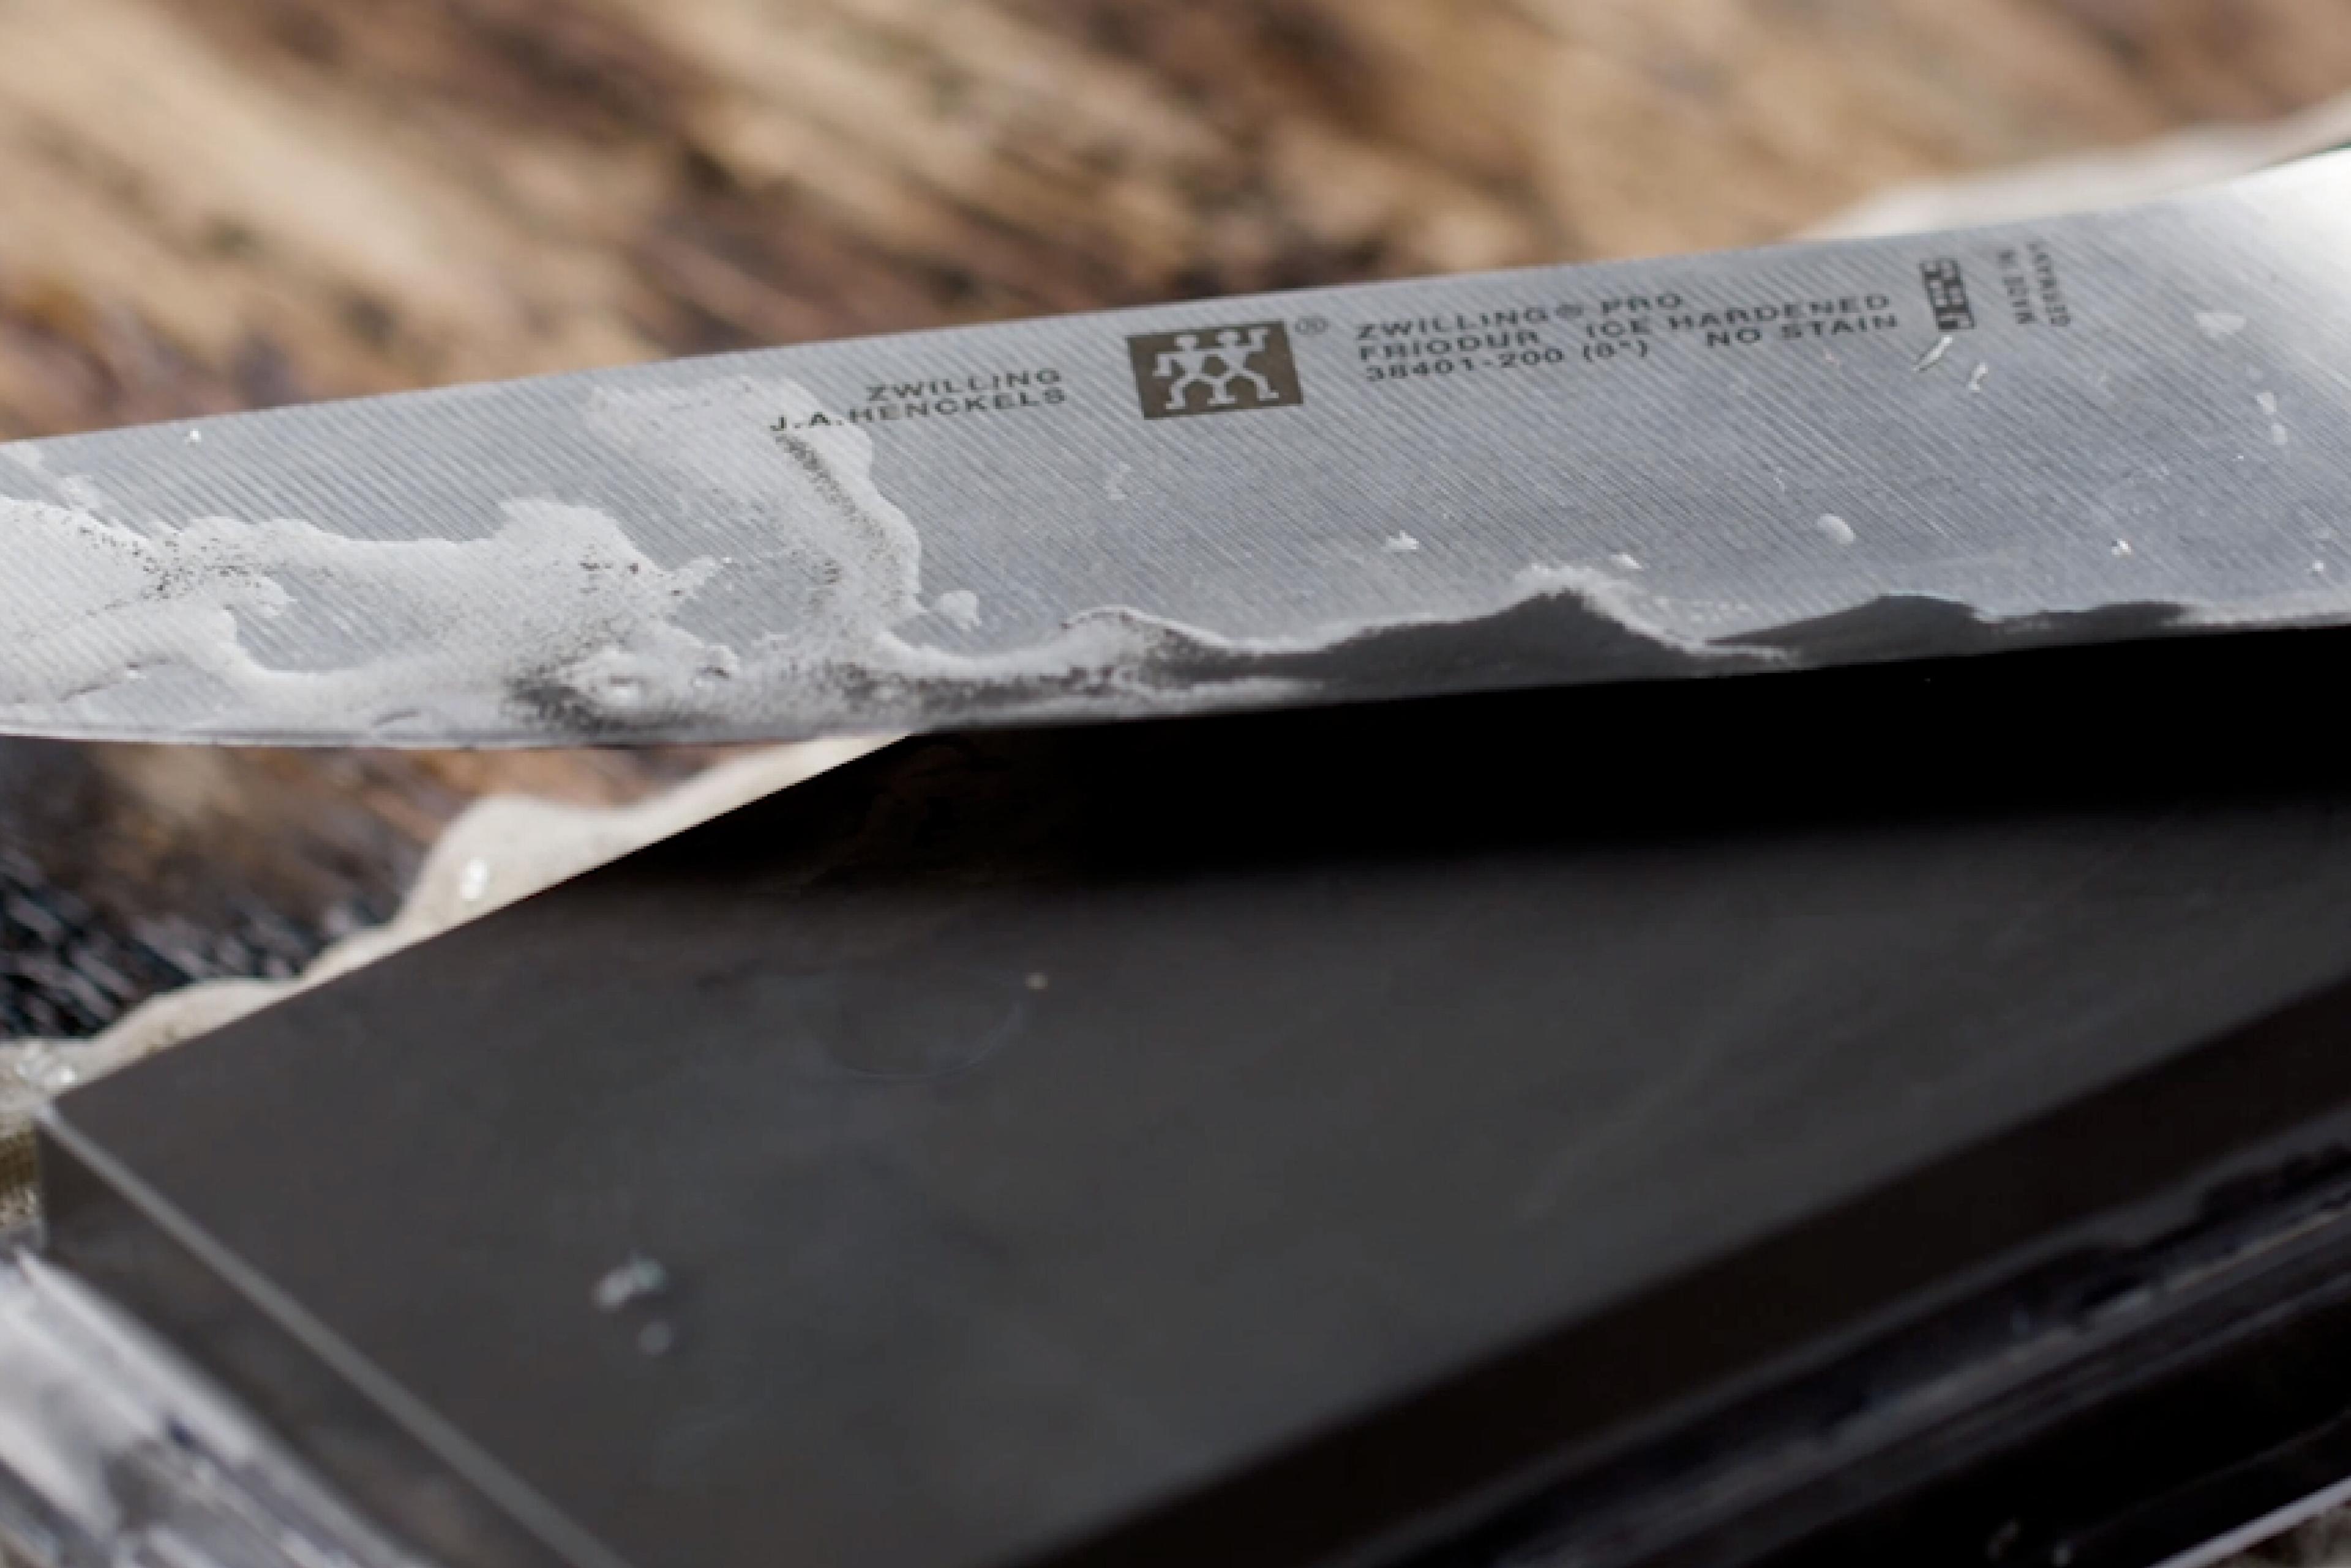
Now push the blade across the stone, edge first, with light pressure going forward and less coming back, as Korin describes. Work along the whole edge. Zwilling suggests dividing a long blade into three sections and starting at the tip, working back to the heel.
Keep going until you feel a burr, a tiny ridge of metal on the opposite side of the edge. You can feel it by gently running your thumb across, not along, the edge from the spine. Zwilling says it usually appears after about 5 strokes; Misen says 10 to 15 passes. The burr tells you you've sharpened all the way to the edge. Be patient here; stopping before the burr forms is the most common reason a knife still feels dull.
Once you feel it along the full length, flip the knife and repeat with the same number of strokes on the other side.
Step 4: Finish, test and care for your stone
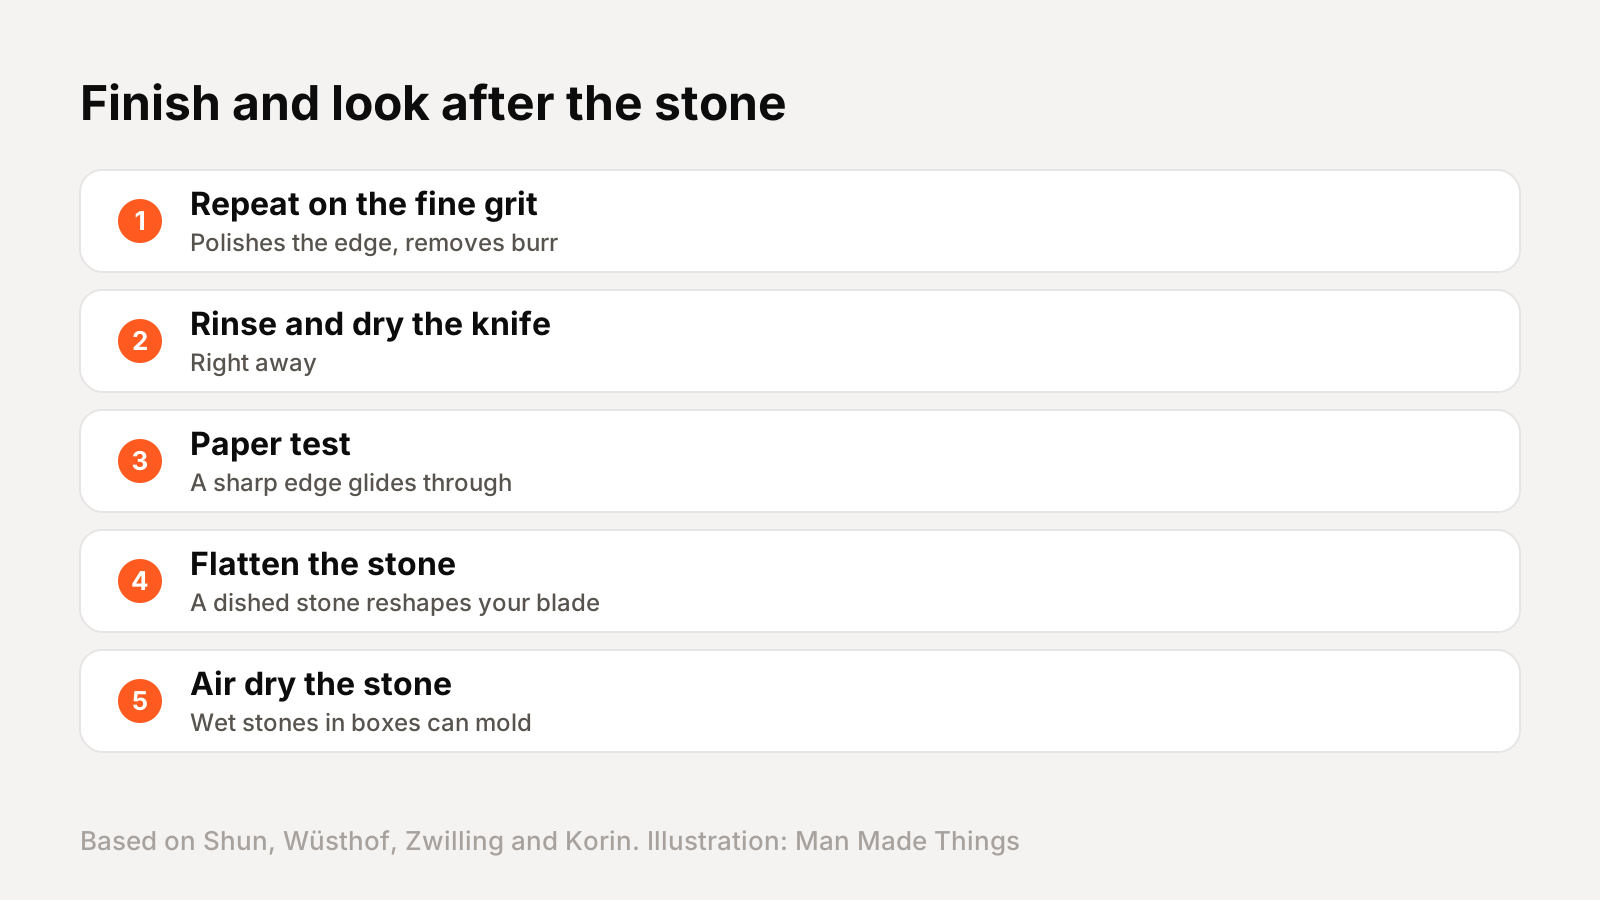
Flip the stone to its finer side and repeat the process. Shun's 1000/6000 stone, for example, uses the 1000 side to restore a dull edge and the 6000 side to refine and polish it. Wüsthof says the fine side also removes leftover steel from the burr. Then rinse the knife in hot water and dry it right away.
To test it, Zwilling suggests slicing a sheet of paper. A sharp blade glides through without pressure or tearing.
Look after the stone, too. Over time it wears into a dip in the middle, and Korin warns that a concave stone will change the shape of your blade. Flatten it with a leveling stone; Shun sells one for this. Afterward, wipe it clean and let it air dry fully. Korin warns that putting a wet stone back in its box can lead to mold.
Frequently asked questions
What angle should I sharpen my kitchen knife at?
+
About 15 degrees is a good default. Shun recommends 16 degrees, Wüsthof 14 degrees, and Zwilling and Korin 10 to 20 degrees.
Do I need to soak my whetstone?
+
Coarse and medium water stones, yes, for about 5 to 15 minutes. Fine stones and splash-and-go stones just need water on the surface.
What grit whetstone should I buy?
+
A combination stone, such as 1000/6000, covers most home sharpening: 1000 to restore the edge and 6000 to polish it.
What's the difference between honing and sharpening?
+
Shun says honing realigns a rolled edge without removing metal, while sharpening removes a little metal to create a new edge.
Sources
Editor-in-Chief
Rahul has been writing about gadgets and software since 2013, first at Thetechhacker and now at Man Made Things. He edits every review on the site and signs off on every verdict.
More from Rahul →